
PiniTree Tutorial
2021 December version
While we are contemplating how to add GPT-3 and MetaVerse functionalities to PiniTree, this seems to be a good moment to write a (Classic) PiniTree Tutorial.
Installation
PiniTree technically is a universal web server with integrated database and user management. As with any web server, installing it requires basic server administration skills. Namely, you must be familiar with the command-line interface and have a Linux, Apple MacOS, or Docker desktop (for MS Windows) server to run PiniTree on.
PiniTree is distributed as a single precompiled binary file (download it from pinitree.com homepage), therefore no specific installation is required. In Linux start a PiniTree server on port 7777 by merely executing the downloaded PiniTree binary file from the command-line:
bash % ./pinitree.linux-amd64 -p 7777 -a
PiniTree distribution includes precompiled binaries also for Apple MacOS/darwin (Intel or M1), but there you will have to additionally deal with “Security & Privacy” options. When starting the PiniTree server from the command-line, the below legitimate warning will be displayed. Choose “Cancel” and proceed to “Security and Privacy” options to “Allow” PiniTree, then choose “Open” on the second attempt to start PiniTree form the command-line.

This is all you have to do from the command-line. The rest of the PiniTree web server configuration takes place through the graphical Web interface described below.
User management
The first time you will try to connect to the newly started PiniTree web server, it will display the following prompt and you have to create the first (admin) user.
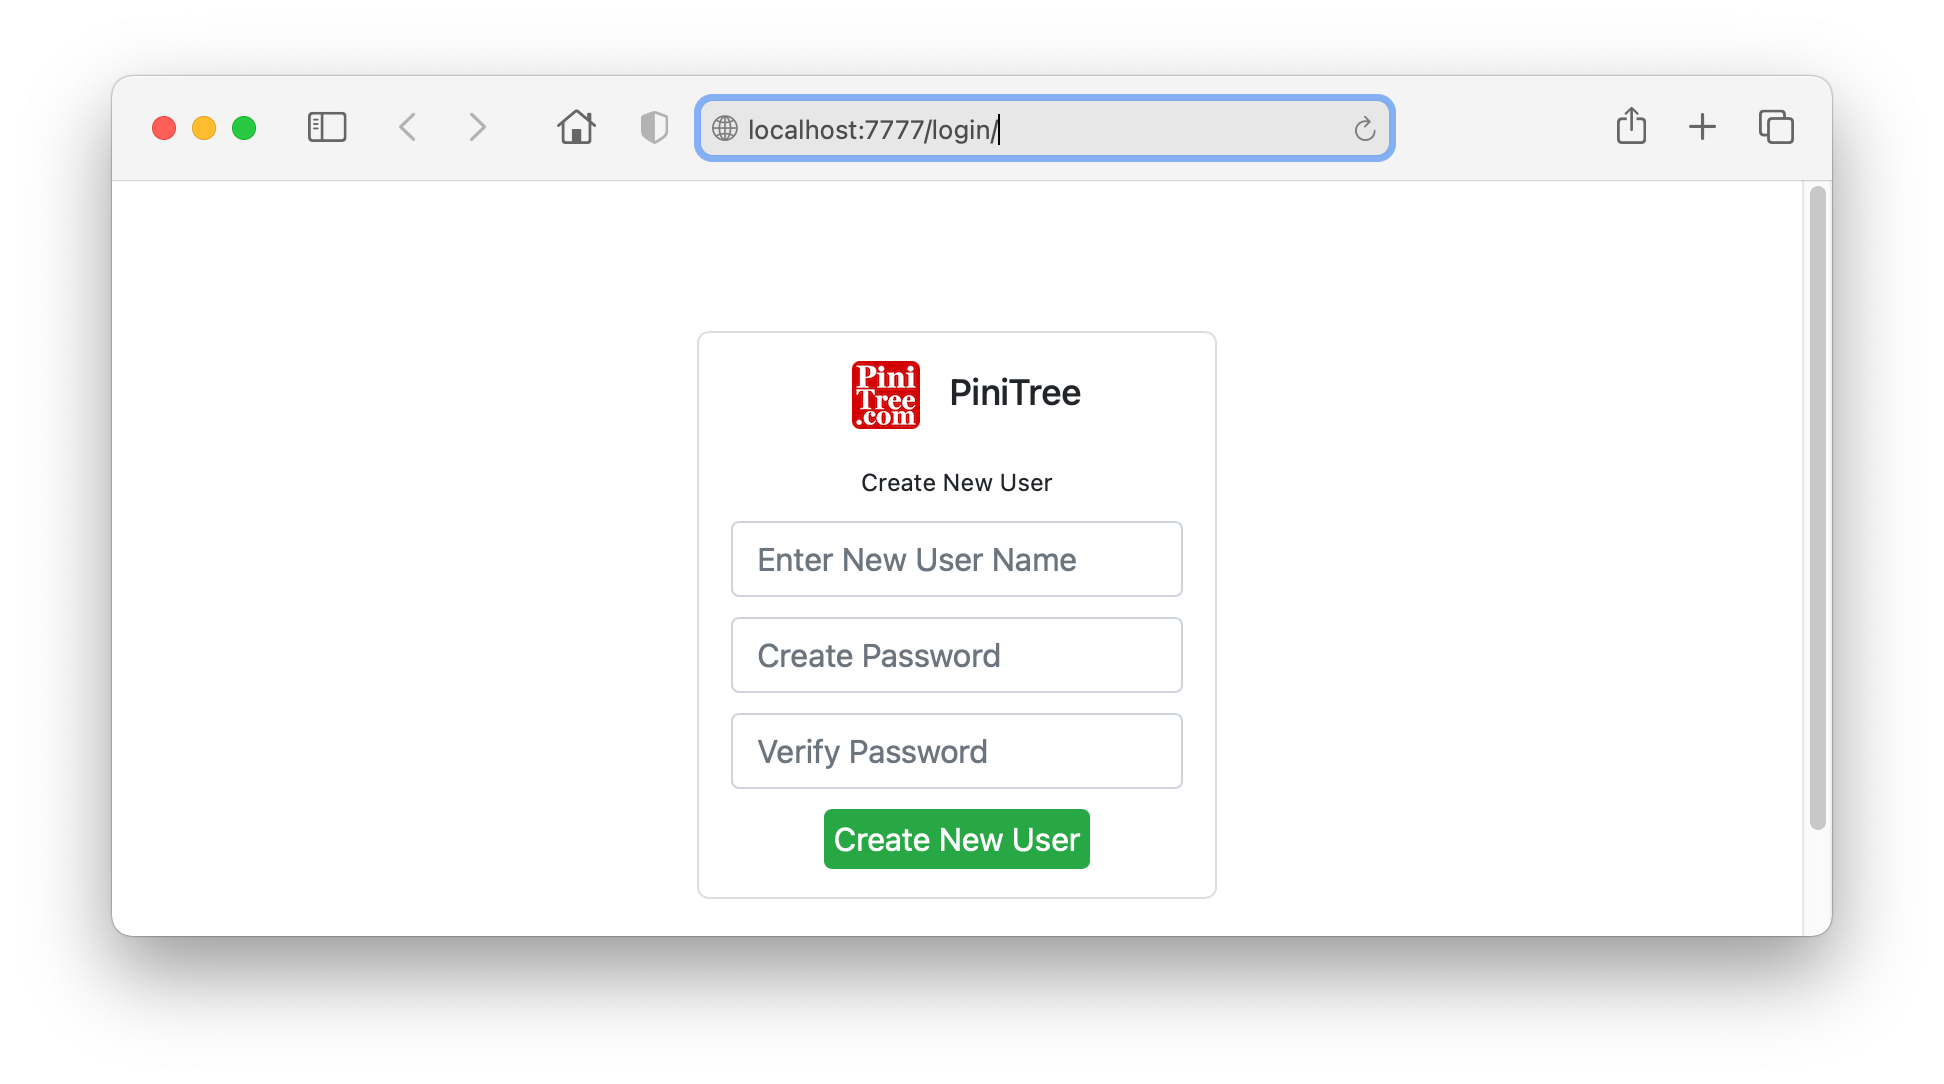
If you are the sole user of the PiniTree server, this admin user is all you need. Additional users with various privileges can be added later by logging in as admin.
Using PiniTree as a simple Web server
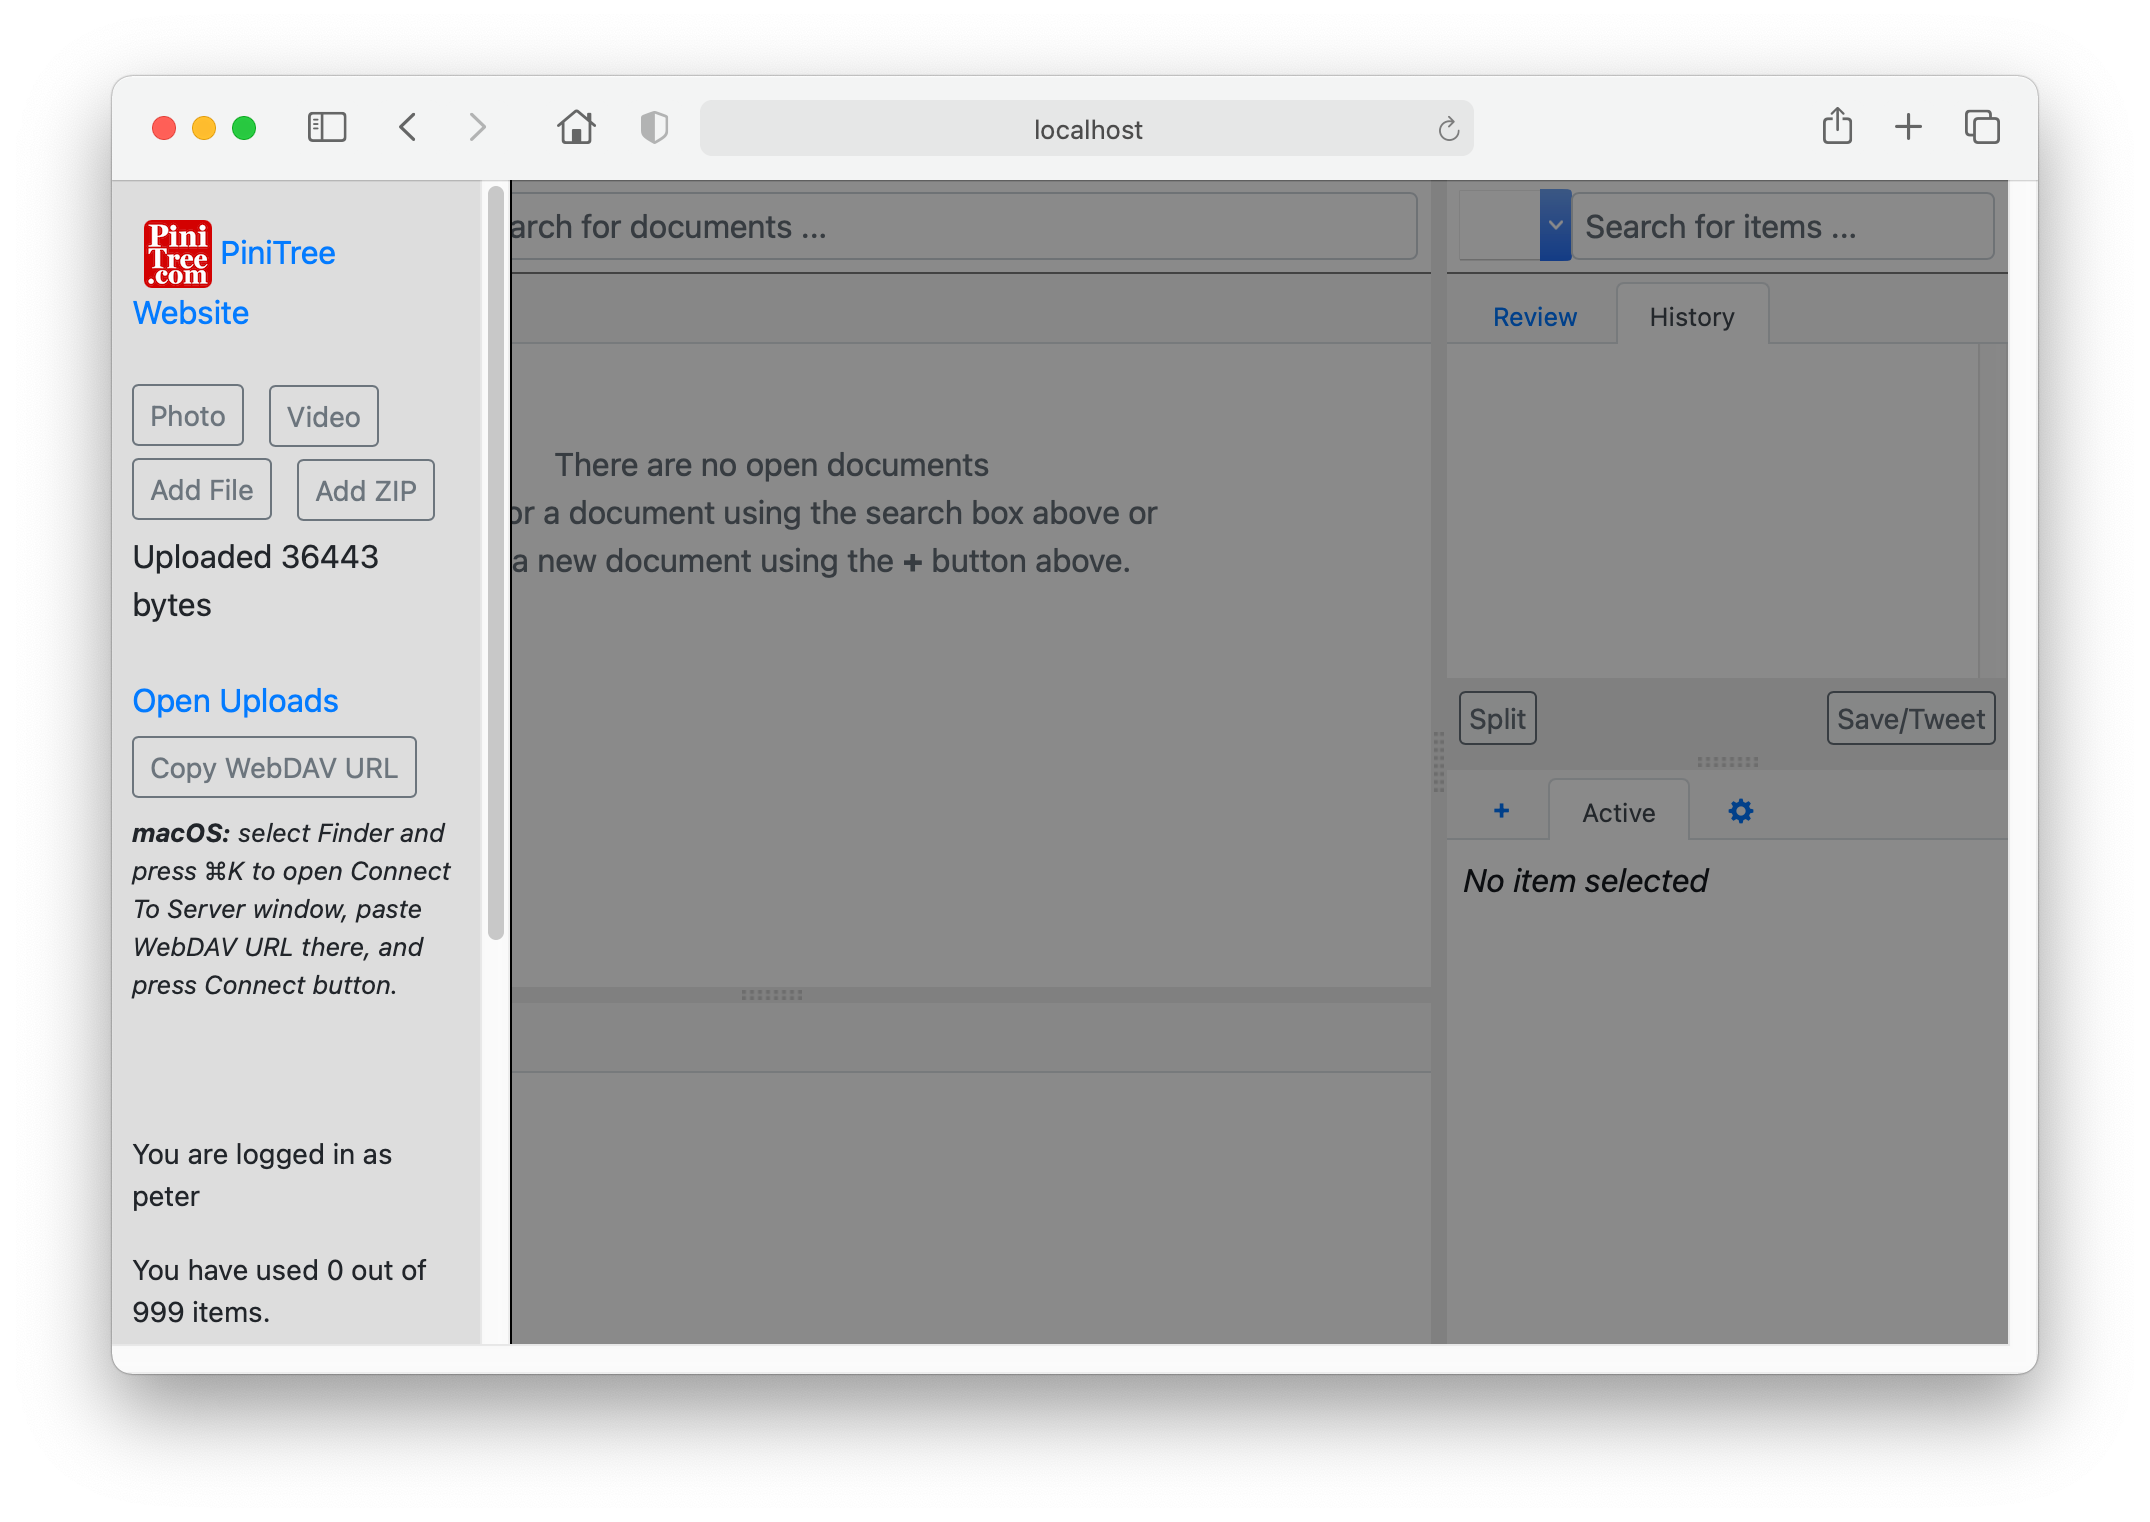
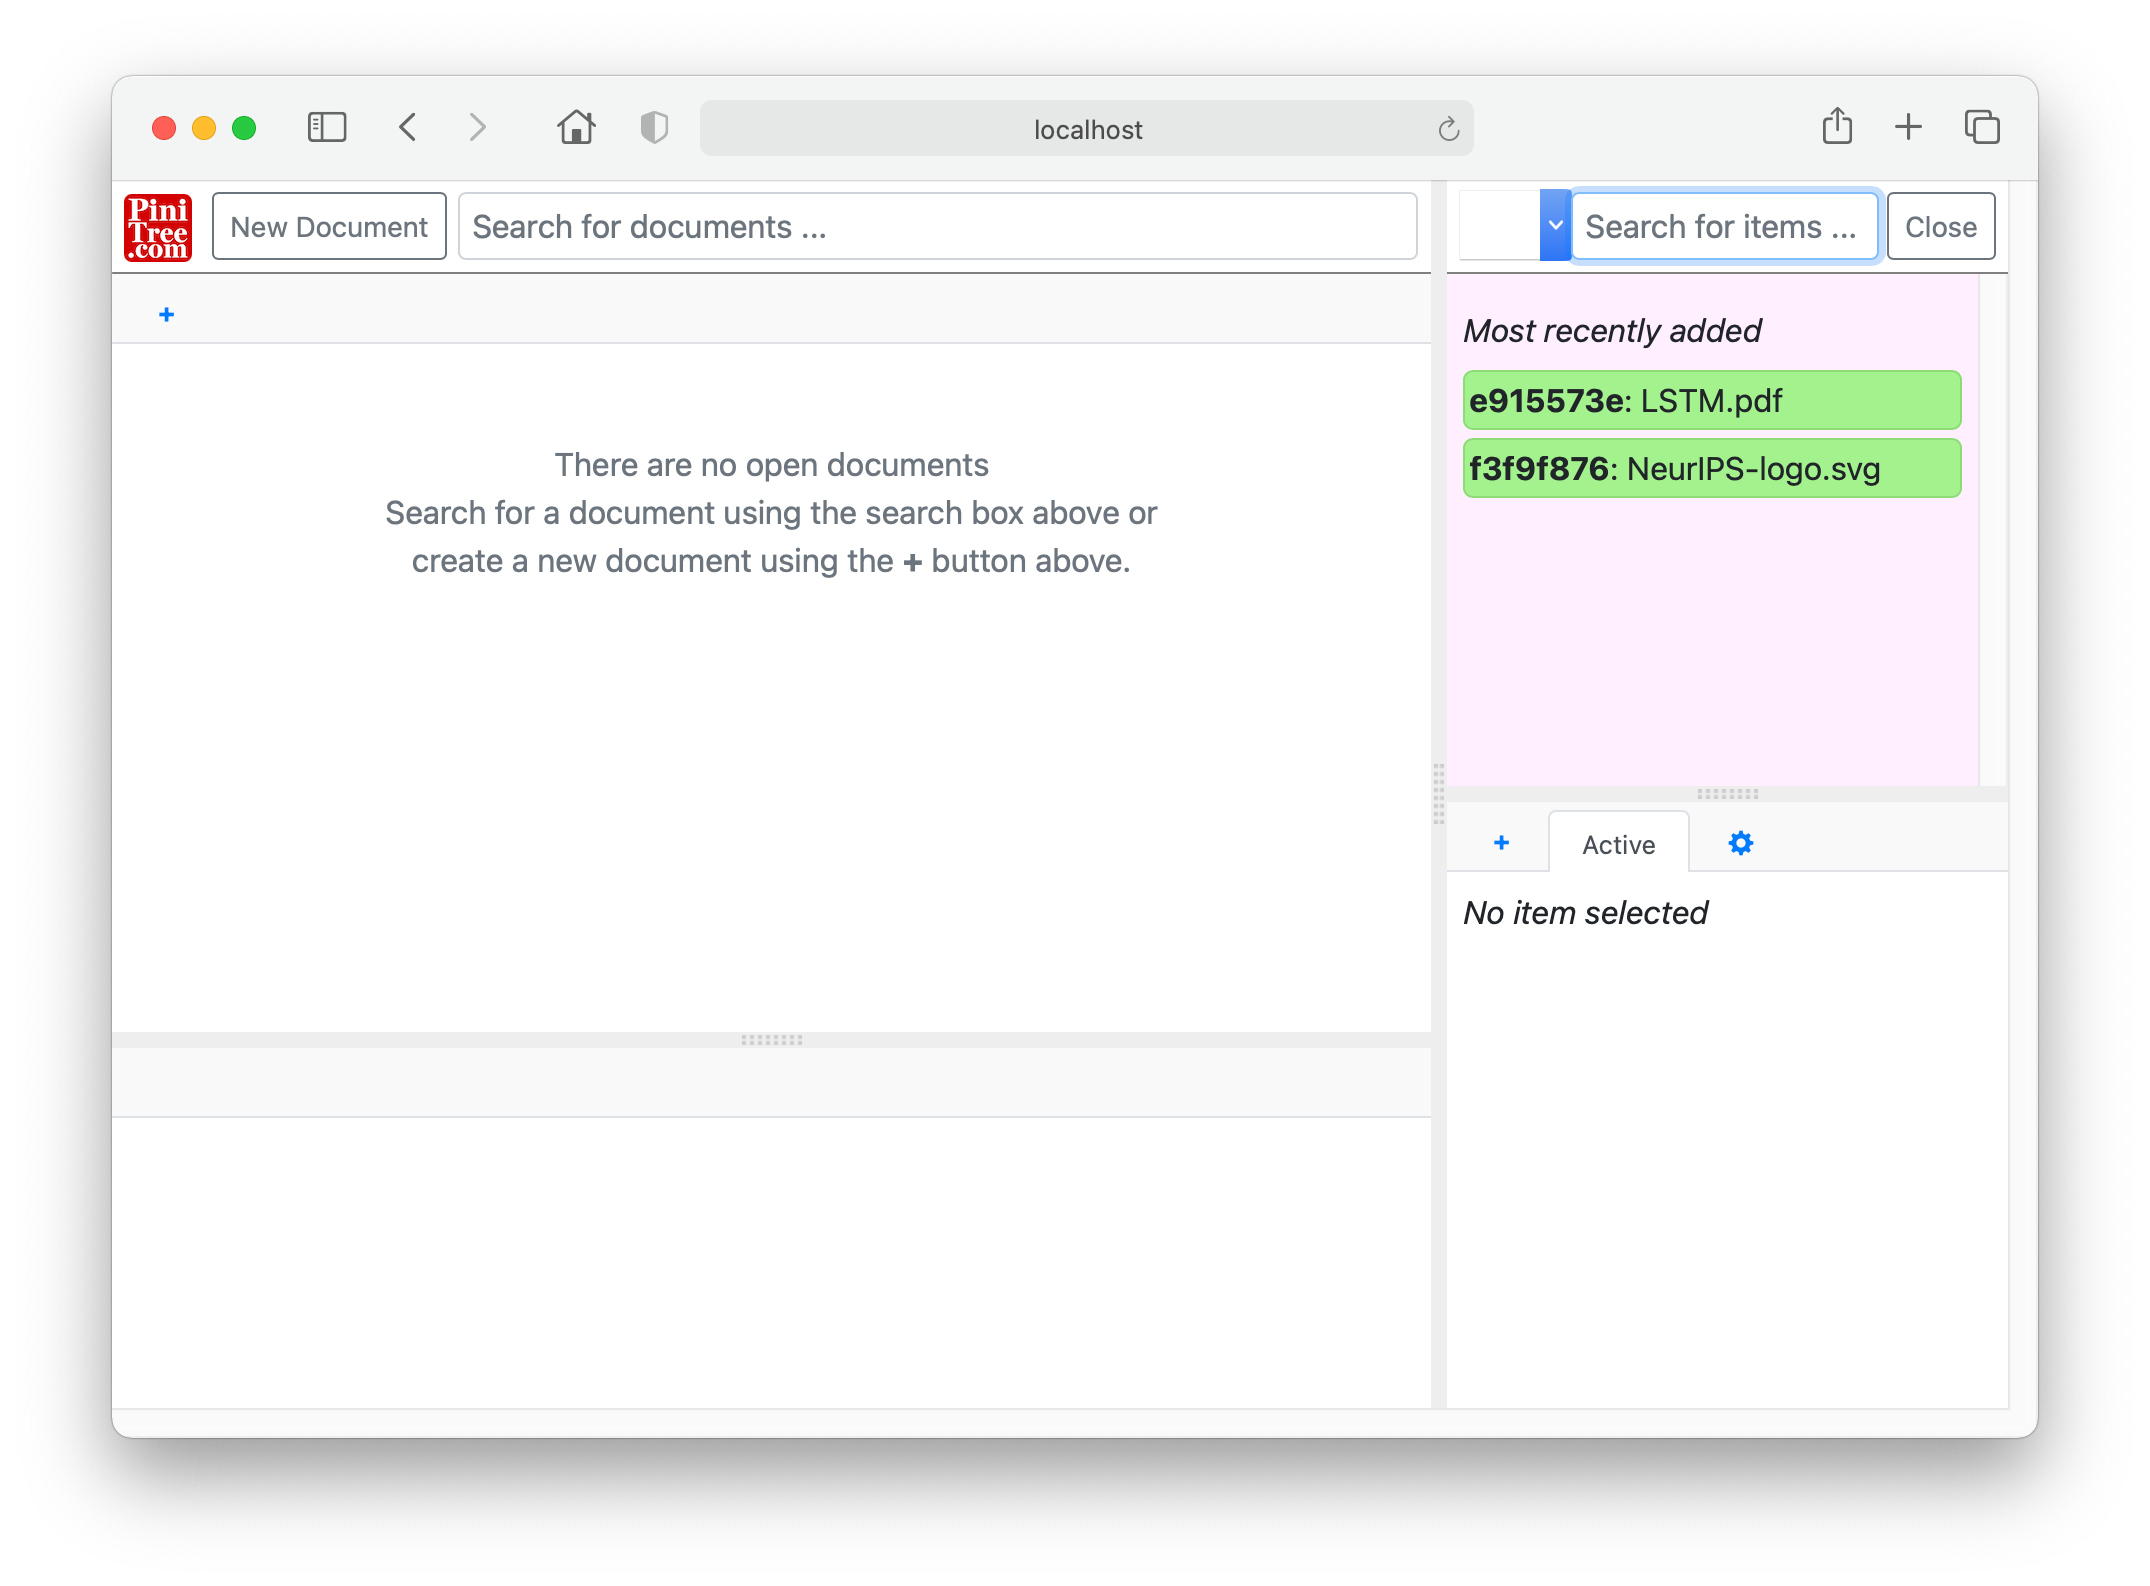
When you login with the newly created username and password, an empty PiniTree server management interface is displayed.

Out-of-the-box PiniTree can be used as a simple web server - click on the PiniTree.com logo in the upper left corner and upload few files through “Add File” button (you can add “Photo” or “Video” also directly from smartphone, if you login to PiniTree server from iPhone or Android phone).
Then click on the “Open Uploads” to browse your uploaded files.
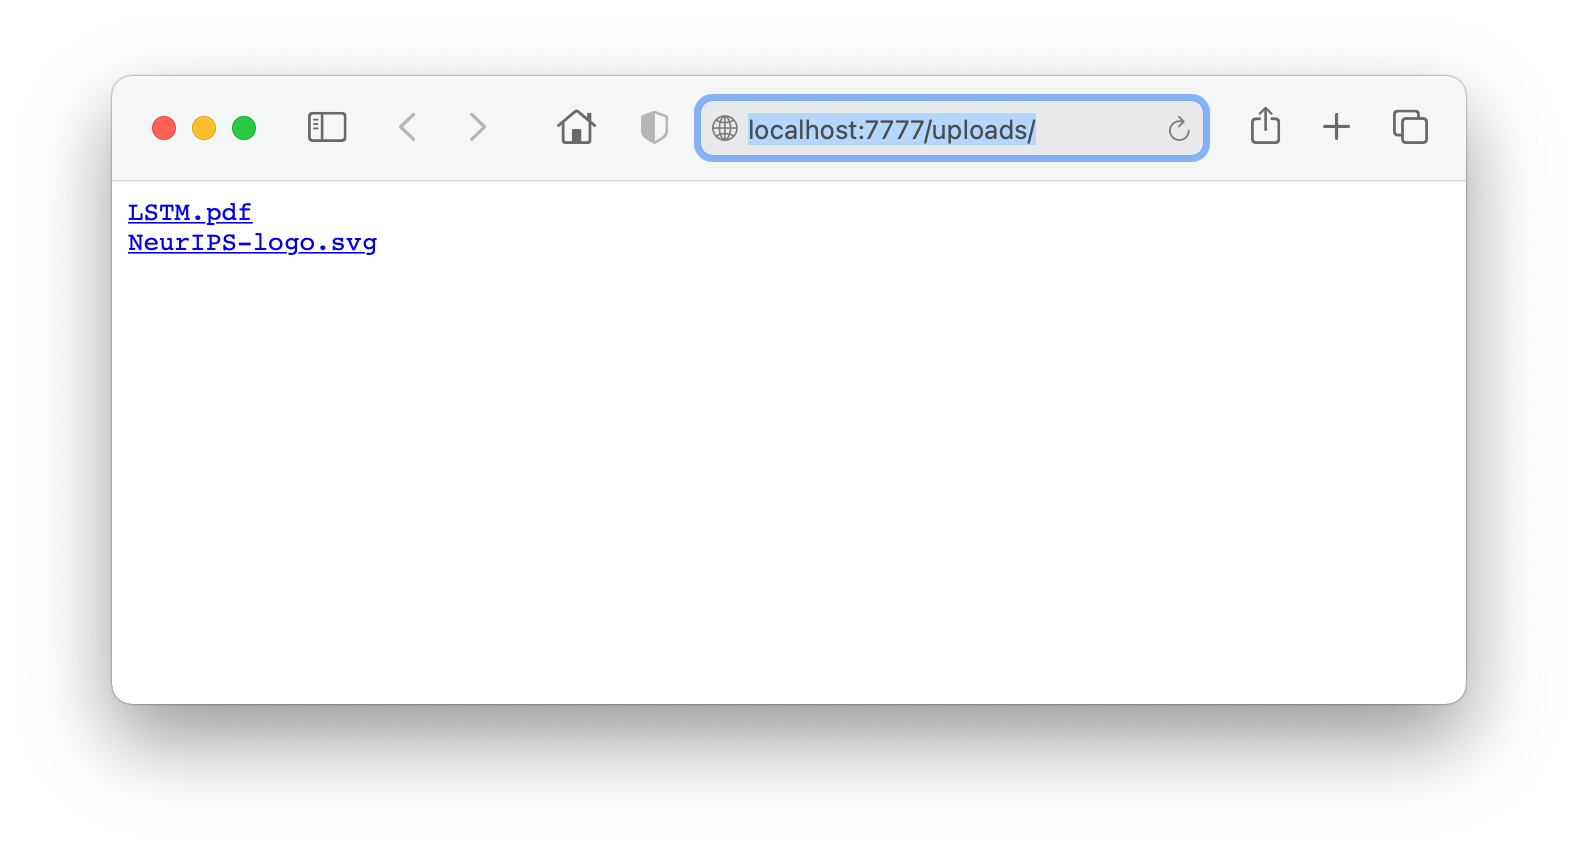
If you would have uploaded also an “index.html” file, that would have been displayed instead of the file list. Voila! Your web server is up and running and anyone with the correct URL now can access it from the Internet.
A very convenient option is to mount the uploads folder to your computer, so that you can simply drag files in and out of it. Click on “Copy WebDAV URL” button and then follow instructions for Apple MacOS.
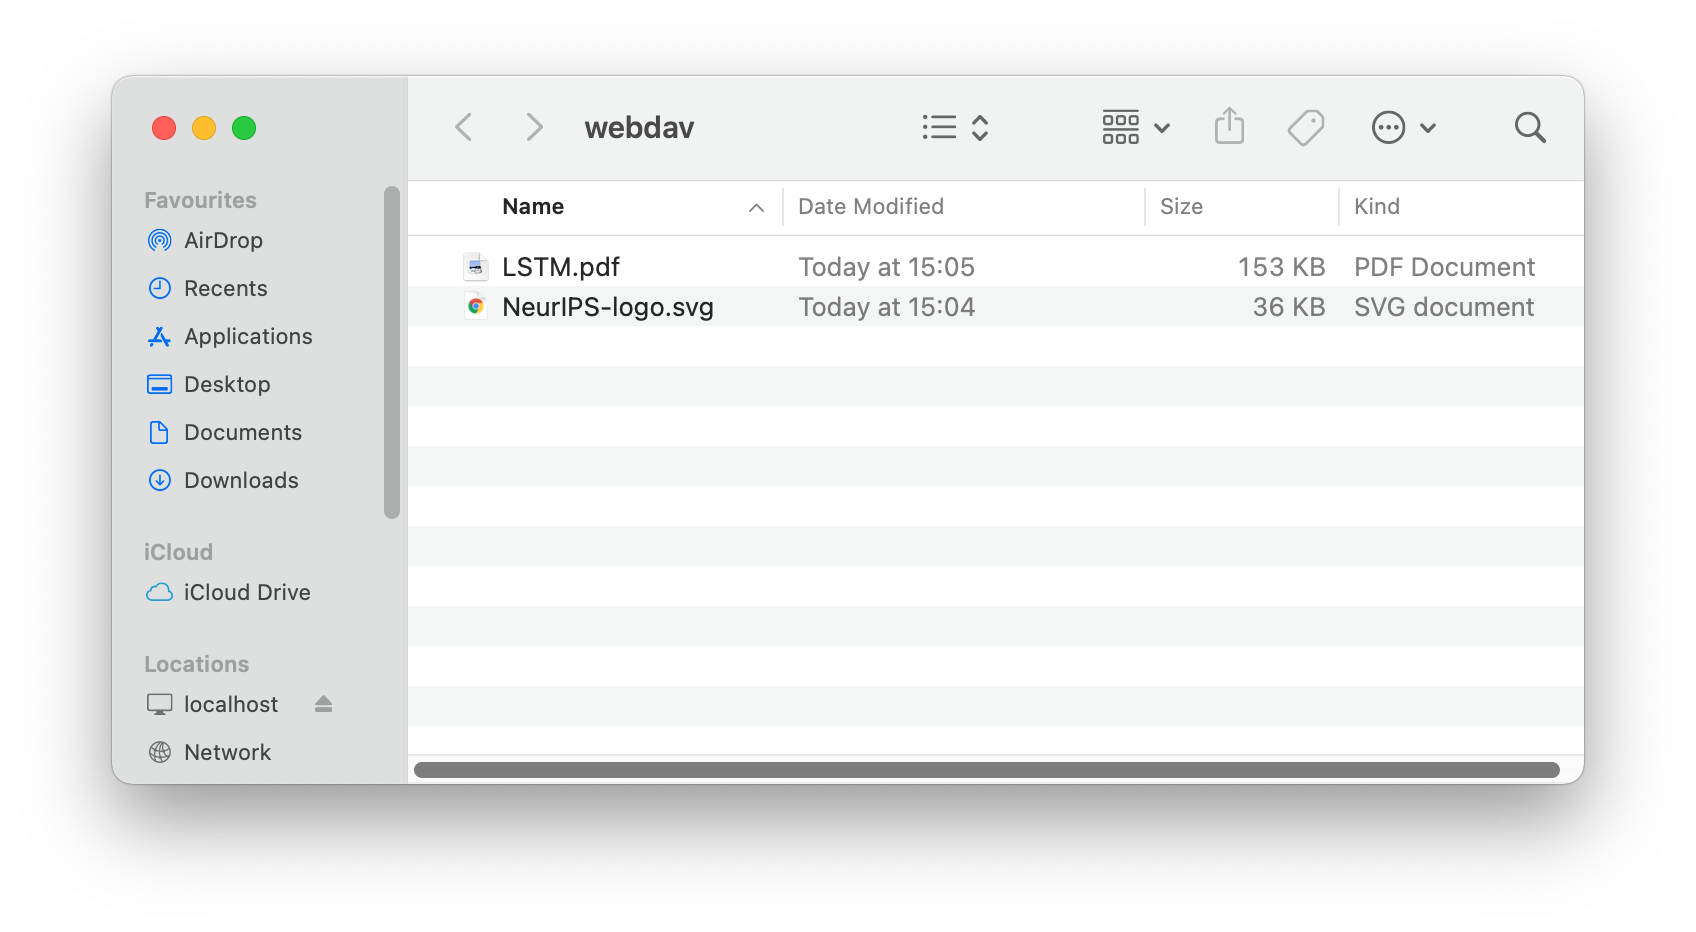
For other operating systems mounting a WebDAV share is also easy. In Windows it is found under “Add a network location” and in Linux:
$ mkdir remotedav
$ sudo apt-get install davfs2
$ sudo mount -t davfs -o noexec http://localhost:7777/webdav/ remotedav
Using PiniTree as a WikiPedia-style cross-linked document store
This is the core use-case for which the PiniTree software was developed and it is described in detail in the PiniTree WhitePaper and in the instruction video.
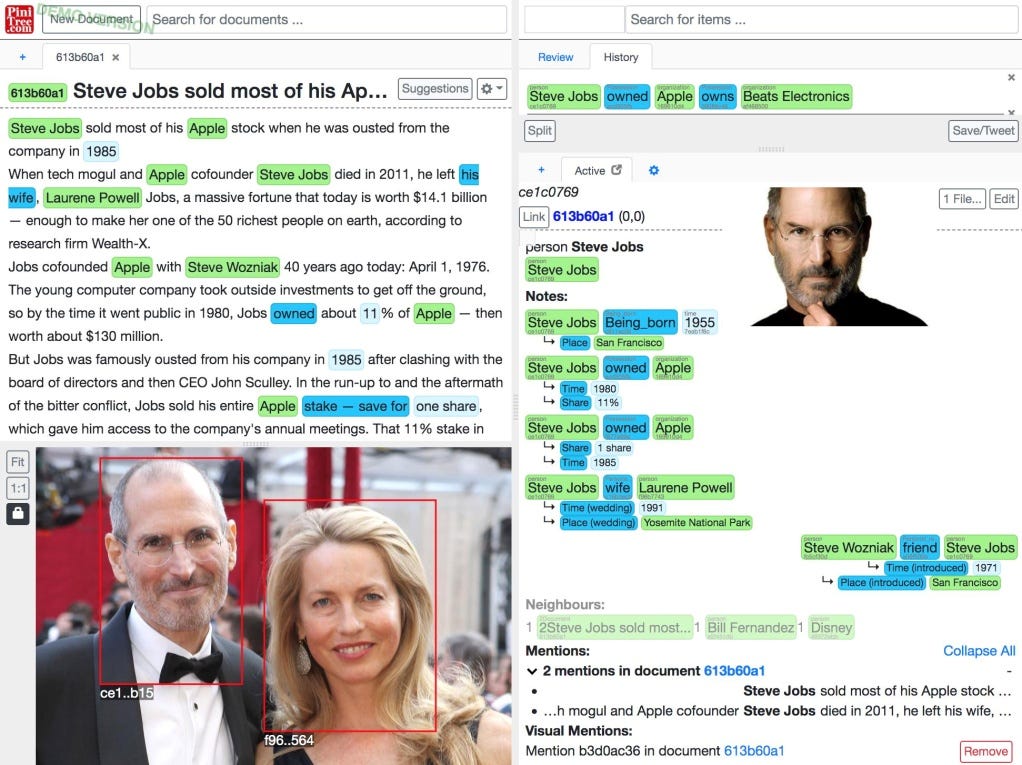
Full functionality of this use-case is best experienced in Chrome and MS Edge web browsers, as these share the same web-engine on which PiniTree was developed.
Reload PiniTree management page, if PiniTree misbehaves - PiniTree frontend might get out of sync with the backend due to other users editing the same item, or yourself deleting items cached in the frontend.
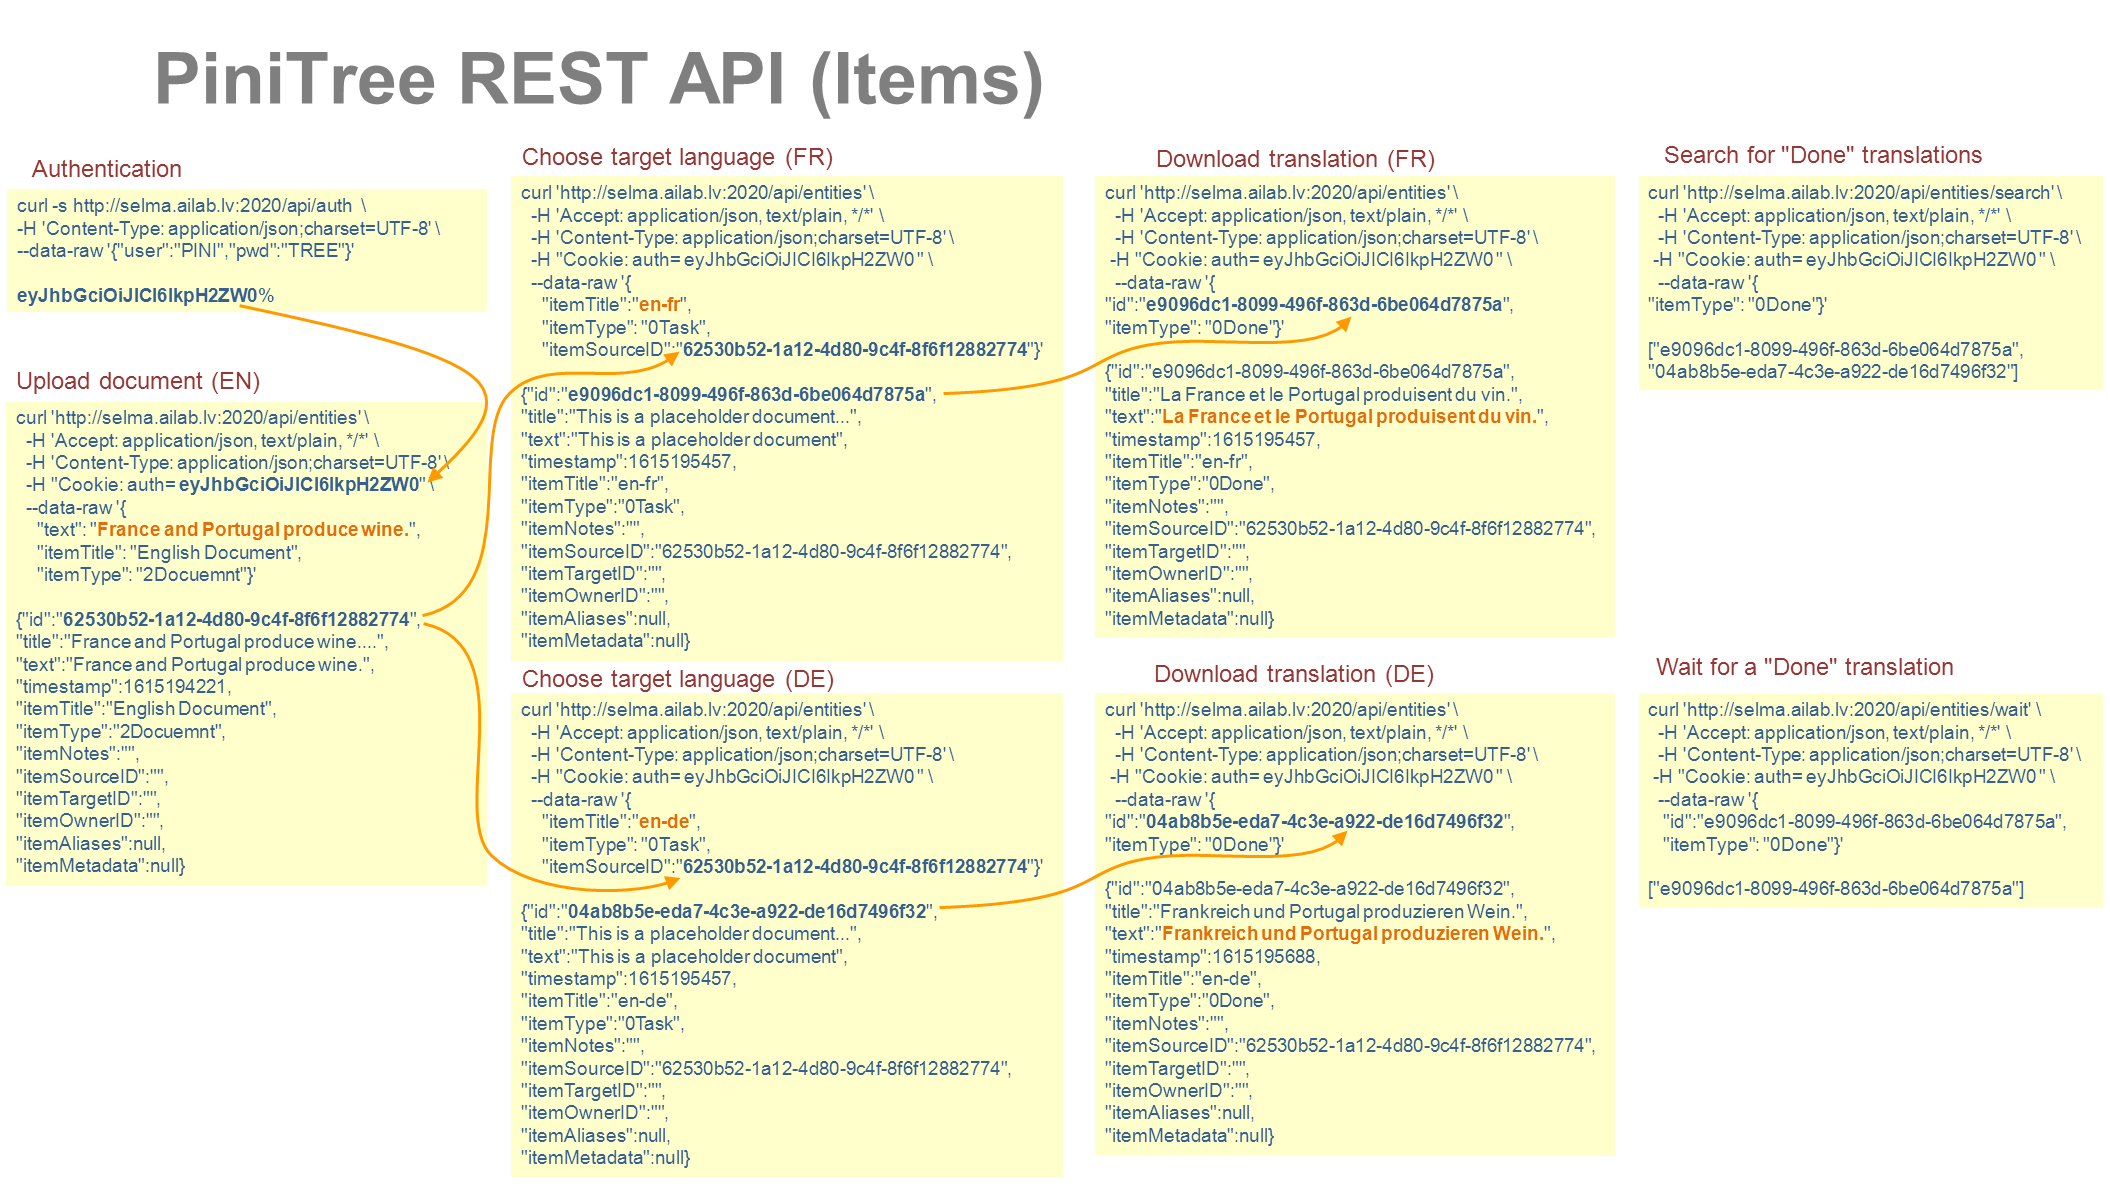
Using PiniTree as a MongoDB-style database through API
PiniTree web server can be used also without the Graphical frontend as a database accessed via REST API calls from other programs, similar to the popular MongoDB database. There are two key differences from the MongoDB:
The database structure is fixed. It comes from the above use-case described in the PiniTree WhitePaper. This fixed structure effectively is a universal triple-store graph database.
PiniTree REST API described below includes a long-polling WAIT method. It enables synchronous and asynchronous communication via PiniTree server. This provides the universal “Turing machine for web” functionality enabling all kinds of interactive web applications.
For example, the WAIT method in the above REST API can be used for processing (e.g. object recognition, speech transcription, etc.) of photos and videos uploaded directly from smartphones through “AddFile” button described above. Reload PiniTree management page and click in “Search for items” box to find the right WAIT criteria.
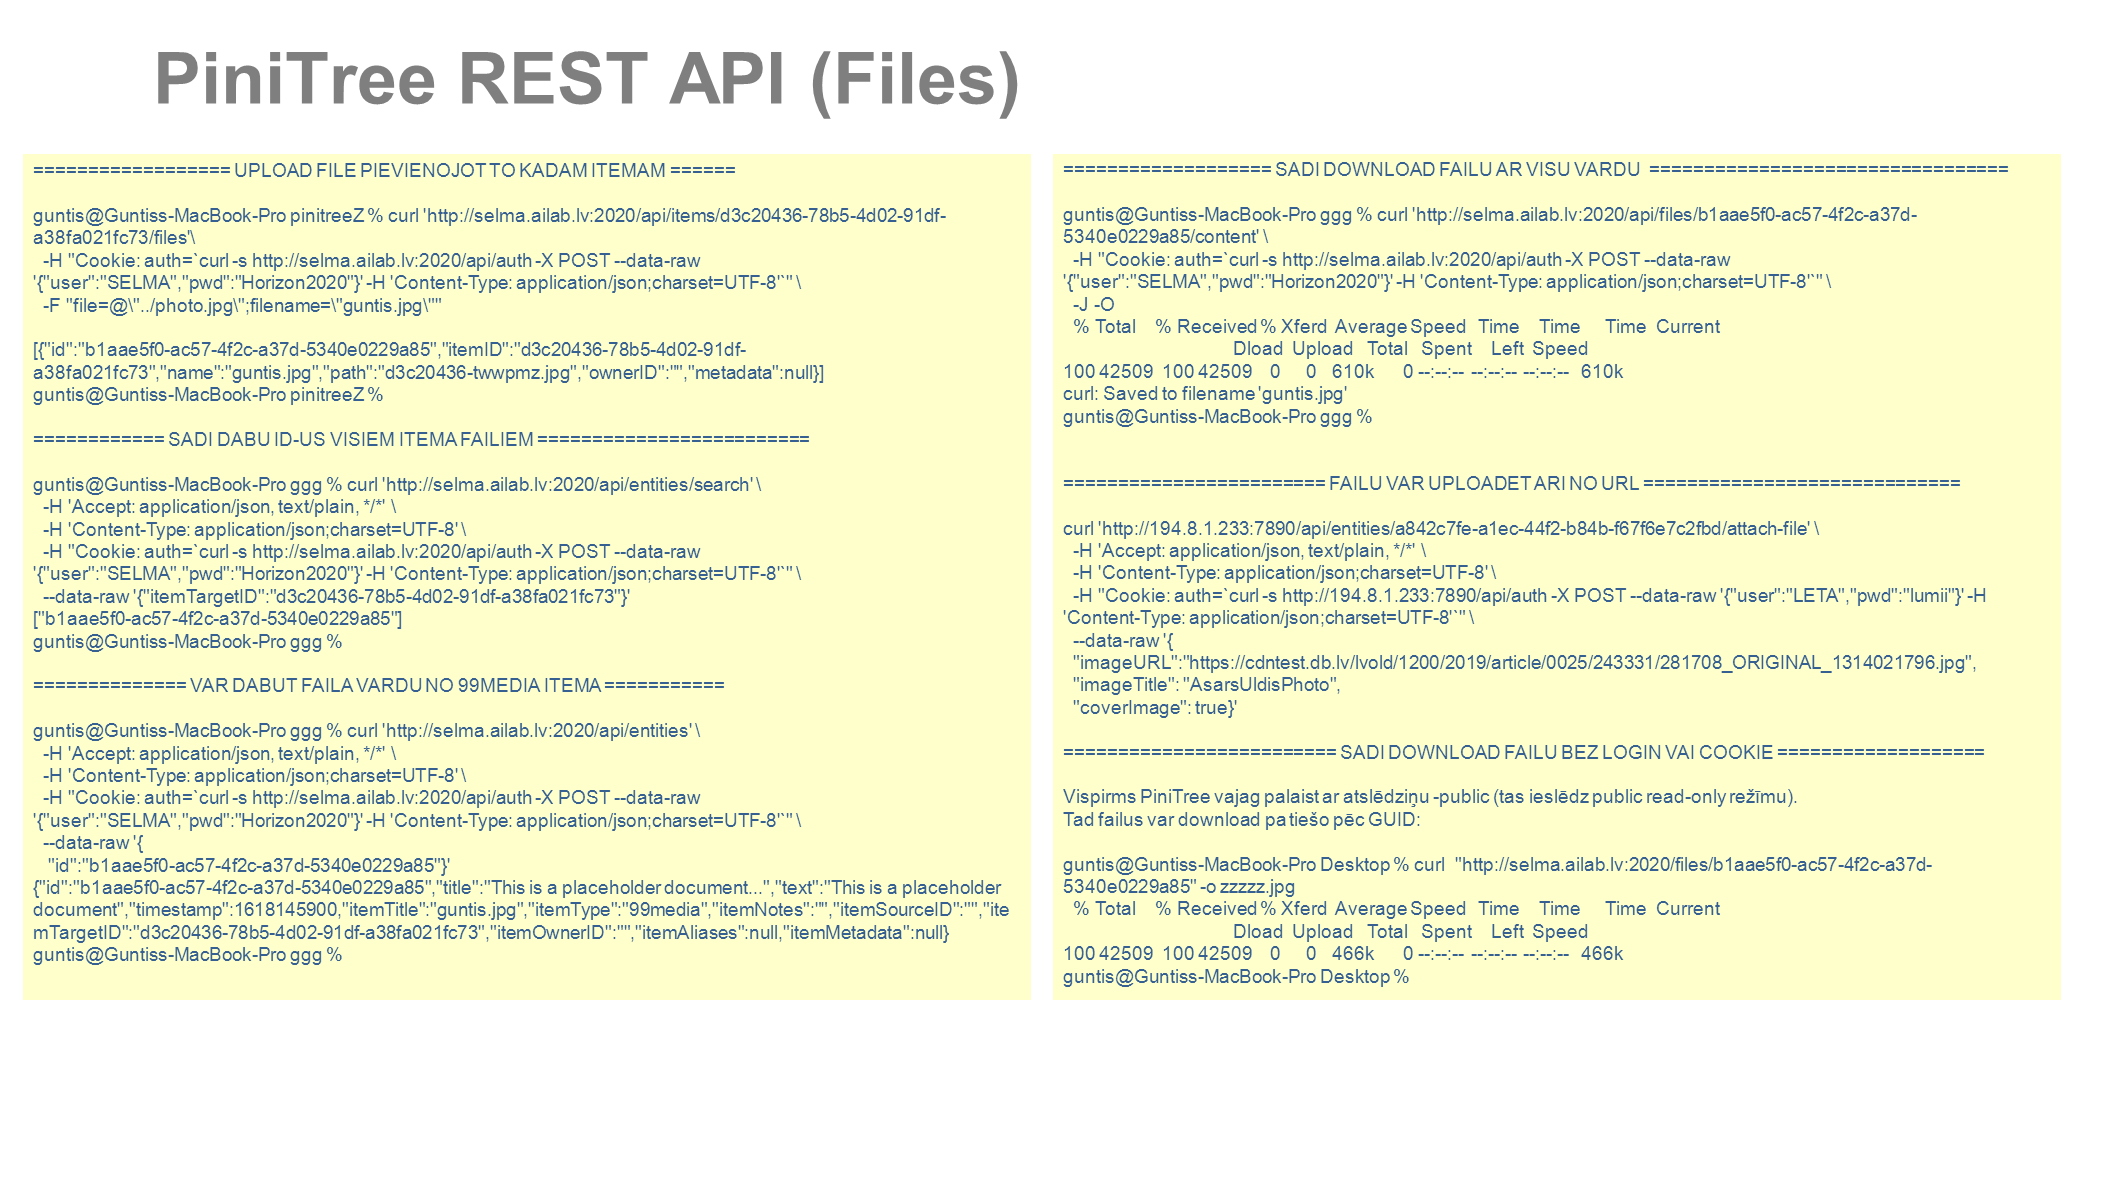
The PiniTree API theoretically is power-full enough to implement an imagined “Internet 3” with a single PiniTree web server in the centre, from which pretty much any static or interactive web page can be served and new content uploaded. Such imagined “Internet 3” might even be pretty secure, as it replaces DNS with GUIDs, supports HTTPS, and provides a universal file storage API, described below.
PiniTree server administration
PiniTree server will create a /data folder in the current directory - this is the only place where PiniTree stores all its runtime data. You can backup and move this /data folder to another computer, if you want to backup or clone your PiniTree server data. Or you can symlink /data folder to another disk or directory in your computer.
PiniTree server can be run inside Docker container. Here is a Dockerfile example:
FROM ubuntu:latest
WORKDIR /app
COPY pinitree.linux-amd64 /app/
RUN chmod +x /app/pinitree.linux-amd64
VOLUME /app/data
EXPOSE 8080
CMD ["sh", "-c", "/app/pinitree.linux-amd64 -p 8080 -a]
As administrator you can add more users under the PiniTree.com logo in the upper left corner (only administrator can manage users). All users can access all content in the PiniTree instance, there is no information hiding or “private” info. Users flagged as “ReadOnly” can only view, but not edit the information. Adding “AutoLoginToken” for a user allows this user to login without user/password via direct URL:
http://194.8.1.232:7777/?token=1234567
There is no user action tracking built into PiniTree. The only way to monitor who is accessing the system and performing what actions is to collect system logs in the “logstd” and “logerr” files as shown below and later analysing these log files:
bash % ./pinitree.linux-amd64 -p 7777 -a >> logstd 2>> logerr
PiniTree has a licence (optional during pandemic) and few more options - these can be looked up with “./pinitree.linux-amd64 -help” command.